
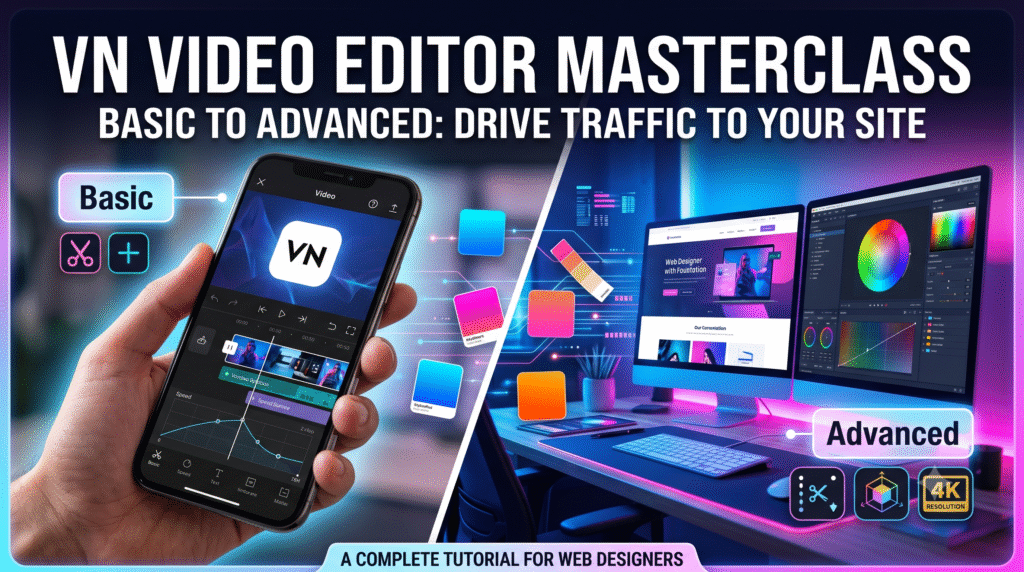
Whether you are launching your first YouTube Short or editing a high-end commercial project on your phone, VN Video Editor is the strongest free, multi-track timeline editor available today.
Below is your complete, step-by-step masterclass guiding you from basic timeline cuts to advanced cinematic effects.
🛠 Level 1: The Beginner Basics (Building Your Foundation)
Before getting into crazy effects, you must master navigating the workspace and cleaning up raw footage.
1.Create Your Project and Aspect Ratio:Step 1.
Open VN, tap the “+” icon, and select New Project. Import your raw videos. Look at the very top of the screen and tap Original to select your aspect ratio (use 9:16 for TikTok/Reels, or 16:9 for standard YouTube).
2.The Perfect Rough Cut (Split & Delete):Step 2.
Scrub through your timeline to find mistakes or awkward silences. Line up the yellow playhead line right where the mistake starts, tap Split (the scissors icon), scrub to where the mistake ends, and tap Split again. Tap the isolated middle section and hit Delete.
3.Reordering and Trimming Clips:Step 3.
To change the order of your video, long-press a clip on the timeline until it lifts up, then drag it left or right. To simply shorten a clip, tap it once and drag the yellow outer edges inward.
🔥 Level 2: Intermediate Enhancements (The Dynamic Polish)
Once your timeline is clean, it’s time to keep the viewer’s eyes glued to the screen using VN’s audio and text tools.
🎵 Perfect Audio & Music Beat Syncing
Good audio is 50% of a great video. VN has a dedicated Music Track at the top of your timeline layers.
- Tap the Music layer icon -> choose your track.
- Tap Beats. As the music plays, tap the red flag button on the heavy thumps/beats of the song.
- Back on the main timeline, match the visual cuts of your video clips exactly with those red flags. This makes your video perfectly synced to the rhythm.
💬 Auto-Captions & Subtitles
Nobody watches videos with the sound turned on anymore.
- Tap the Text layer icon -> select Auto Captions.
- VN’s built-in engine will automatically transcribe your audio into highly stylized, readable text subtitles across your entire video in seconds.
🚀 Level 3: Advanced Pro Techniques (Cinematic Magic)
This is how you turn an ordinary smartphone video into an engaging, high-end edit.
1. The Speed Curve (Speed Ramping)
Instead of a boring, uniform slow-motion clip, use Speed Curves to create a sudden fast-to-slow cinematic shift (popular in travel and car videos).
- Select a clip and tap Speed, then switch from Regular to Curve.
- Raise the curve graph line above the middle line to accelerate the clip, and drop it below to create butter-smooth slow motion.
2. Keyframe Animation (Custom Object Motion)
Keyframes allow you to animate elements—like making a logo slide onto the screen or a picture-in-picture video float around.
- Tap the PIP (Picture-in-Picture) layer to add a secondary photo or graphic overlay over your video.
- Move to the beginning of the clip and tap the Keyframe (diamond symbol) button. Move the graphic slightly off-screen.
- Scrub forward 1 second on your timeline, move the graphic into the center, and add another keyframe. VN will automatically animate a smooth path between those two positions.
3. Import Custom LUTs (Color Grading)
Give your videos a Hollywood film look by importing custom color profiles (.CUBE files).
- Tap Filter -> My Filter -> Import LUT. You can download professional color grading presets online, load them into VN, and instantly apply professional color tones across your scenes.
📦 How to Export for Maximum Quality
When your video is done, hit Export in the top right corner. Do not just use automatic settings! Use these manual configurations to keep your videos perfectly crisp without being compressed by platforms like Instagram and TikTok:
| Video Type | Resolution | Frame Rate (FPS) | Average Bitrate |
| Shorts / Reels / TikToks | 1080p | 30 FPS or 60 FPS | 15 – 20 Mbps |
| Cinematic YouTube Vlogs | 4K | 24 FPS or 30 FPS | 40 – 50 Mbps |